✩How to Create a Zombie-Like Art Style in Ibis Paint X
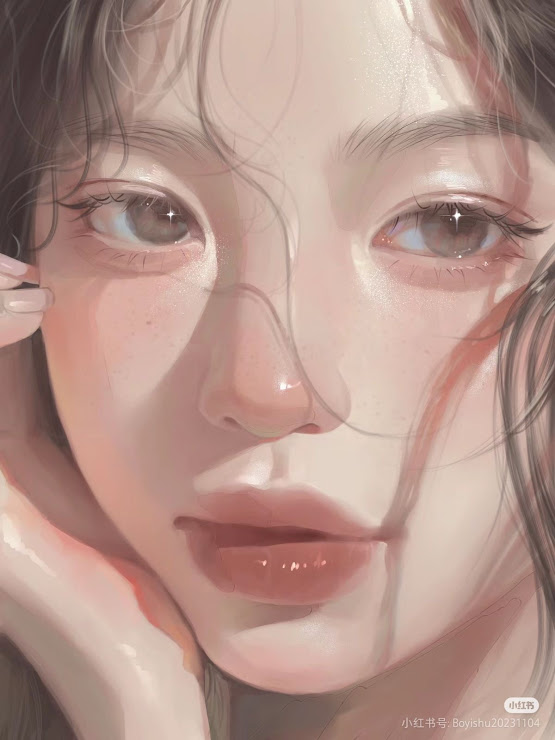
Hai there! Nai’s here, and this is my another artwork! This time, I went for a zombie-like aesthetic with a soft greenish tone. The eerie but elegant atmosphere really adds depth to the characters, making them look both haunting and mesmerizing.
In this tutorial, I’ll show you how to achieve this ghostly, undead look using Ibis Paint X. We’ll play around with blending modes, color adjustments, and lighting effects to get that perfect “cursed yet beautiful” vibe. Whether you’re drawing supernatural beings, horror-themed illustrations, or just experimenting with cool colors, this technique will definitely level up your art!
Let’s get started!
Step 1: Base Coloring
Before applying effects, make sure you have a solid base for your artwork.
- Use muted colors for skin, hair, and clothing to create a dull, lifeless feel.
- Avoid vibrant colors—stick to desaturated greens, blues, and browns.
- Soft shading works best for this style, so keep shadows subtle.
Step 2: Adjusting Skin Tone
To get that undead, greenish tint, we’ll use blending modes!
- Create a new layer above the skin layer.
- Set it to Multiply or Overlay (experiment with both).
- Use a soft brush to paint greenish-blue hues on the skin, focusing on shadows.
- Lower the opacity to make it blend naturally.
For a more intense undead look, add hints of purple or gray to certain areas like under the eyes and around the lips.
Step 3: Enhancing the Eyes
The eyes are the key to making the character feel eerie! Try these:
- Bright glowing eyes: Add a new layer, set it to Add (Glow), and lightly paint yellow, white, or neon colors.
- Darkened eyes: Use Multiply mode with a desaturated color to make the eyes look sunken.
Step 4: Adding Textures & Shadows
Textures add depth and make the undead look more realistic.
- Add a new soft shading layer (set to Multiply).
- Use a textured brush (like watercolor or grunge) to give a rough, decayed effect.
- For more depth, erase small parts with a soft eraser to create a natural fade.
Step 5: Final Adjustments
To perfect the eerie look:
- Use Color Balance or Hue/Saturation adjustments to tweak the overall color.
- Add an overlay layer with greenish tints to unify the tones.
- Experiment with the Subtract or Difference blending modes for cool color distortions.
Final Thoughts
And that’s it! By using blending modes and subtle color adjustments, you can create a stunning zombie-like effect in Ibis Paint X. Whether you’re aiming for ghostly beauty or full-on horror, these techniques will help bring your undead characters to life (or un-life?).
Let me know if you try this out! What other art styles should I explore next?


0 comments:
Post a Comment