✩Lazy Artist’s Secret: How to Use Ibis Paint X’s Filters for Quick Results
Hey there! Nai’s here, and today I’m going to share one of my favorite secrets for making artwork look fantastic with minimal effort. As a “lazy artist,” I know the struggle of wanting to create beautiful art without spending hours on every tiny detail. But don’t worry, there’s a way to get great results in less time—and the key to doing that in Ibis Paint X is through the magic of filters!
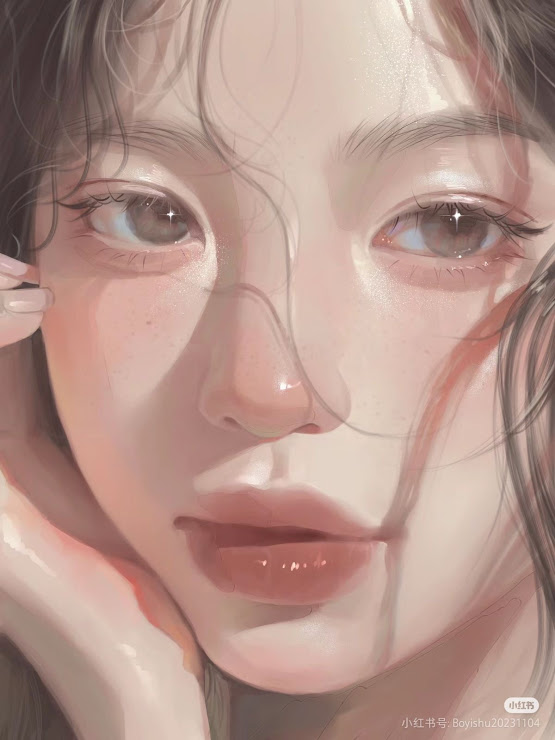
Cr pic : Pinterest
Ibis Paint X is packed with built-in filters that can instantly enhance your artwork. Whether you’re looking to add atmosphere, smooth out textures, or create stunning lighting effects, filters can help you do it all without stressing over every brushstroke. Let’s dive into how you can use filters to elevate your work the lazy way!
1. Gaussian Blur: Softening and Blending for a Smooth Effect
- What it does: The Gaussian Blur filter helps smooth out harsh lines, blend colors, and create a soft focus effect that makes your art look polished in seconds.
- How to use it: If you want to soften a background or blend colors together, simply duplicate your background layer, apply Gaussian Blur (found in the “Filter” menu), and adjust the blur strength to your liking. It’ll give your piece a dreamy, ethereal look with very little effort.
- Pro Tip: Use a slight blur on your background and keep your foreground sharp for a cool depth-of-field effect that looks way more complicated than it actually is!
2. Noise: Adding Texture Without the Effort
- What it does: The Noise filter adds a grainy texture to your artwork, which can give it a more organic, imperfect feel—perfect for when you want to make your work look like it has more depth.
- How to use it: Apply the Noise filter to any layer (it works great on backgrounds or skin tones) and adjust the strength. You’ll get an instantly textured effect that would take you ages to paint manually.
- Pro Tip: Try applying noise on a new layer set to a lower opacity for a subtle texture effect that still enhances your piece without taking over.
3. Blur & Light Effects: Creating a Dreamy Glow
- What it does: Filters like “Radial Blur” or “Motion Blur” can be used to create light trails or glowing effects that make your art look more dynamic and magical.
- How to use it: If you want a glowing, dreamy effect around a character or object, apply the Radial Blur and focus it on the area you want to emphasize. You can also use the Motion Blur for glowing light effects in backgrounds or skies.
- Pro Tip: Combine these with the “Add” blending mode to enhance the glow, or use the “Screen” mode for a softer effect!
4. Soft Light: Quick Shading and Highlights
- What it does: The Soft Light filter adds gentle shading and highlights to your artwork, making it look like you’ve spent time perfecting lighting, even if you haven’t.
- How to use it: After you finish your base colors, add a new layer and set it to Soft Light. Then, paint with a soft airbrush or gradient tool to add lighting and shadows quickly. This creates depth and atmosphere with minimal effort.
- Pro Tip: Use a pale color or white for highlights, and a soft dark color for shading to keep it looking natural.
5. Pixelate: For a Cool, Retro Effect
- What it does: The Pixelate filter gives your artwork a retro, pixelated effect, which can be perfect for adding a bit of fun to your work or for creating a distinct, stylized look.
- How to use it: Apply the Pixelate filter to any layer and adjust the size of the pixels. It can be used for backgrounds, characters, or even abstract pieces.
- Pro Tip: If you’re aiming for a stylized look but don’t want the effect to overwhelm your art, use the Pixelate filter subtly and in small areas.
6. Vignette: Adding Focus and Depth
- What it does: The Vignette filter adds a soft, darkened edge around your art, helping to focus attention on the center and creating a cinematic atmosphere.
- How to use it: Simply apply the Vignette filter to your artwork and adjust the intensity. It’s perfect for creating a sense of drama or for guiding the viewer’s eye towards the focal point.
- Pro Tip: Use Vignette subtly so it doesn’t overpower the scene. It works best for portraits or scenes with a central focus.
Final Thoughts
There you have it—my lazy artist’s secret to making your art look stunning without spending all your time on it! Filters in Ibis Paint X are a total game-changer, giving you the ability to quickly enhance your work with just a few taps. Whether you want a dreamy, glowing effect or a textured, gritty look, these filters can save you a ton of time and still give you impressive results.
So, the next time you want to create something magical but don’t have the energy to go into full detail mode, just reach for your filters. Trust me, you’ll get beautiful results with minimal effort!
Happy drawing, and don’t forget to have fun while you’re at it!


0 comments:
Post a Comment