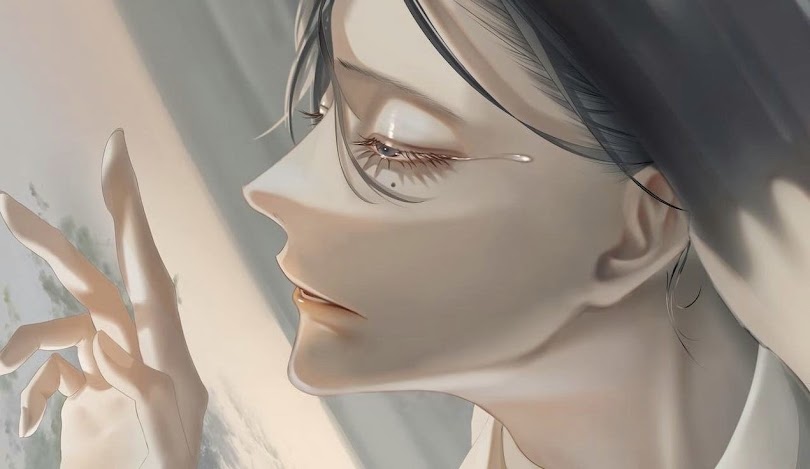
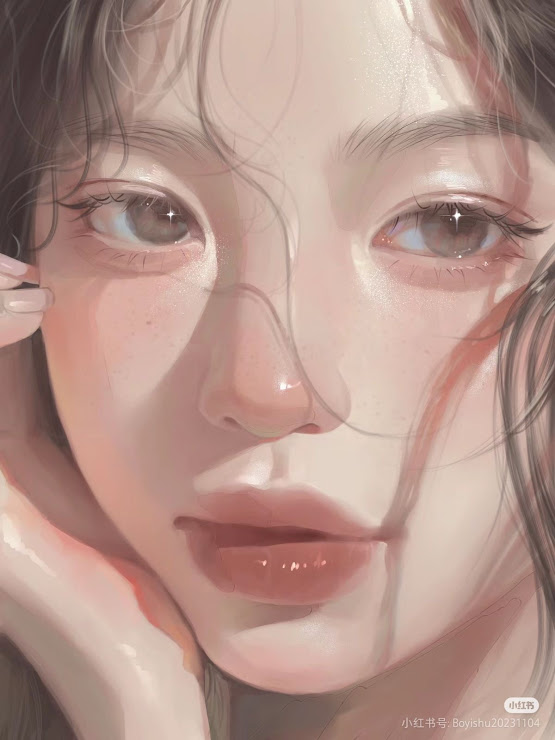
✩Effortless Teardrops Using FX in Ibis Paint X
Hey there! Nai’s here, and today I’ve got a super easy trick for you—creating realistic teardrops with almost no effort using the FX (Filter) tools in Ibis Paint X. Instead of manually shading and blending every droplet, you can let the app do most of the work!
If you love adding small details to your art but don’t want to spend ages on them, this method is for you. Let’s get started!
1. Draw a Basic Teardrop Shape
- Why? FX filters work best when applied to a clear shape.
- How to do it:
- Create a new layer above the skin.
- Use a soft round brush (like “Dip Pen Soft” or “G Pen”) to draw a simple teardrop shape.
- If you’re adding multiple tears, draw thin, curved lines for flowing tears.
- Lazy Tip: Use the Selection tool (Lasso) to adjust the shape instead of redrawing it!
2. Apply the “Water Drop” FX Filter
- Why? This filter automatically adds a glassy, watery effect to your teardrop.
- How to do it:
- Select your teardrop layer.
- Go to Filter → Style → Water Drop.
- Adjust the Strength and Transparency to make it look natural.
- Lazy Tip: If the tear looks too bold, just lower the layer opacity for a softer effect.
3. Enhance the Glow with “Add (Glow)”
- Why? Tears reflect light, and adding glow makes them stand out beautifully.
- How to do it:
- Create a new layer and set it to Add (Glow).
- Use a soft white airbrush to lightly highlight the top of the teardrop.
- If needed, add a tiny white dot near the highlight for extra shine.
- Lazy Tip: If the glow is too harsh, use the Blur tool to soften it!
4. Blend the Tear Into the Skin with “Blur” FX
- Why? Tears shouldn’t look like stickers—they need to blend naturally.
- How to do it:
- Select the teardrop layer.
- Go to Filter → Blur → Gaussian Blur.
- Apply a tiny amount of blur to soften the edges.
- Lazy Tip: If you want a wet skin effect, lightly blur the area below the tear too!
5. Add Final Details with “Lighting” FX
- Why? This makes the tear look even shinier and more realistic.
- How to do it:
- Go to Filter → Lighting.
- Adjust the light source angle so it matches your scene.
- Increase the Brightness slightly for a subtle glow effect.
- Lazy Tip: If you’re going for a dramatic look, combine this with the “Soft Light” blending mode on a separate layer.
Final Thoughts
And that’s it! With just a few FX filters, you’ve got a realistic, glowing teardrop in seconds—no complex shading or manual blending needed. This is perfect if you want quick but effective details in your art.
Try it out and let me know how it works for you. Happy drawing!


0 comments:
Post a Comment